Friday, December 20, 2013

Upcycle an Old Coffee Canister!

I needed something to store my shake mix in for my most recent radical diet phase, so I found some ideas on Pinterest and decided to try them myself.


What you will need:
An empty, clean coffee canister
Painter's tape
Sand Paper or Sanding Block
An old sheet or drop cloth
Krylon Plastic-Compatible Spray Paint in desired color
An empty paper towel roll
Mod Podge (glossy finish is best)
Decorative paper, stickers, and other decorative items


Step 1: Wash and sand down the empty coffee can.
Step 2: Apply Tape around inside of canister. Do not fold the tape over the top, let it sit up so you cover as much of the red (or other original color) as possible. Put a few old grocery bags inside the canister to cover the rest. Tape the bags down if necessary.


Step 3: Always use spray paint in a well ventilated area- outside is best. Lay something across the grass to cover a large area, like some old towels, a sheet you don’t care about, a disposable plastic tablecloth, or newspaper. (I am all about getting a second use out of old stuff!) Then, begin to spray the canister with paint, waiting until the coat is dry before flipping it over to do the bottom. (about 10-12 minutes)


Step 4: Wait another 10 minutes or longer before bringing the canister inside. I set it up on an old paper towel roll to finish drying overnight.
 

Step 5: Now comes the fun part! Be patient and wait overnight before adding any decorations or labeling to the canister. Mod Podge is great for projects like this. You just put add your decorations one layer at a time, coating each side of the items thoroughly with the mod podge and stick it where you want it on the canister. I went over the whole thing with more mod podge when I was finished placing it all on the canister. I wanted to be able to wash the thing when the time came! I don’t suggest using any stickers that stick up off the page unless they are already some kind of plastic material and not paper. I am testing this with a plastic anchor sticker, so we will see how well it holds up. I always try to use stuff I already have around the house instead of going out and buying more junk!


Sunday, September 29, 2013

Ridiculously Good Spinach and Artichoke Dip

I know this isn't the  most beautiful food you've ever seen, but I can honestly tell you it's delicious! I made this last night, and I will have to make it again for a party or large group. It makes quite a bit.


Spinach and Artichoke Dip:


16 oz. softened cream cheese

8 oz. shredded mozzarella

1 cup mayonnaise

9 oz. chopped spinach (I use green giant from the frozen dept. Thaw before using)

14 oz can artichoke hearts

2 cups grated parmesan cheese

3 chopped garlic cloves

Salt and pepper to taste
Garlic Powder (optional)

 
Preheat oven to 350 degrees. Stir together cream cheese, half of the mozzarella, the mayonnaise, 1 cup of parmesan, and salt and pepper. Drain the excess liquid from the artichoke hearts, and strain the water from the spinach. Add the artichoke, garlic, garlic powder to taste, and spinach to the mix stirring until well blended. Transfer to an oven-safe baking dish. Sprinkle with the remaining mozzarella and Parmesan. Bake for 30-35 minutes or until light brown and bubbly on top. I serve it with a King’s Hawaiian Bread Loaf to tear apart and dip, but it also goes well with tortilla or pita chips. Enjoy!

Wednesday, August 21, 2013

Starfish Coasters


The original pattern for the starfish applique can be found at Yarnington.

One down, three more to go before I have a set!

This is how to make a starfish coaster:


Body:

Chain two

5 sc in farthest chain from hook

Inc all the way around (10)

1 sc, then inc. repeat around (15)

2sc, inc. repeat around (20)

3sc, inc. repeat around (25)

4sc, inc. repeat around (30)

Arms: Slip stitch, ch 14. Sc in 3rd chain from hook. Skip one and hdc. Skip one and dc. Skip one and htc(htc is like a tc, just pull the yarn through the first three loops only, then pull through the remaining two loops). Skip one and tc. Now this next one is new, it’s a half quadrupal crochet. It’s the same idea as the half triple crochet, but you wrap the yarn 3 times around the hook before you loop into the second chain from the hook. Pull the yarn through the first stitch, then the next three, and then the next three. Then quadrupal crochet into the next chain without skipping. You should have reached the end of the chain. Now count 5 stitches from the main round and insert your hook. Sc. (repeat 4 more times- 5 arms total)

After the last sc, slip stitch into the last vacant stitch, then finish off. Cut and weave the yarn into the finished starfish.


What the finished coaster looks like with a giant cup on top of it.
 
 
Thanks again to the crocheting blogger at Yarnington for the original pattern! I had no clue how to make a starfish of any size until I read that post. :)

Friday, August 9, 2013

Hotel Room Upgrade- Lady MacGyver style

I'm currently staying at the Hampton Inn at the convention center in New Orleans. The hotel is located in the beautiful Warehouse district, and is one of the only ones with a pool in the area. It's a great place to stay at a reasonable price. That being said, there are always some extras that can make my stay feel a little bit...well, classier.

You've got your fancy disposable cutlery(silver), plastic wine glasses, and plastic blue china...
(from Dollar Tree, always a classy choice.)
 
 
 Fancy snacks for the mini-fridge, including Prosciutto, Brie, Fresh baked bread, Wine with a screw off cap, and fresh cherries. I also got popcorn and soda for movie watching in bed. (all purchased at the fancy new Winn Dixie down the road)

 
And something extra for me, a cooling eye mask for relaxing in the room. (also purchased from Dollar Tree.)
 
Stay classy while traveling, y'all!


Thursday, August 1, 2013

Elmo, A love story

So my kid's bestie is in love with Elmo, almost as much as mine loves Mickey, so I had to make her a buddy for her birthday. It worked out well because I'm so into crocheting right now and since Maggiemakesstuff had a pattern ready for me. Here's the finished guy, and know that he took me like a solid week to complete, but that was with distractions. And I suggest you take my advice and use something to stabilize his mouth, like cardboard (or plastic if you want to be able to wash him). I didn't, and he looks almost like a character from the Simpsons (notice how his upper lip is so flat and pointy looking).

 
Adding the mouth-hole made his face look like a ski mask for a few days!
 
The completed head and body.
 
His nose.
 
I didn't take pictures of his arms and legs as I was making them, but I found it easier to stuff the hands and feet before I crocheted the rest of the leg and arm. It's harder to go back and add stuffing past the long stems once they are complete.

The finished Elmo is perfect cuddle-size for toddlers!
(even if this looks like a crime-scene photo... sorry 'bout that!)


Monday, July 22, 2013

Ridiculousness: A grown woman in a tutu

This project is from a while back (When I was getting ready to go to Ultra Music Fest in Miami- Instead I Wore it to Party in the Park in Atlanta), but I felt the urge to post it since I'm listening to Armin van Buuren and just bought a couple spools of neon yarn for future projects. There's nothing more ridiculous than a grown woman in a tutu, but here I am all the same. For your enjoyment:

The Neon Lime & Pink Zebra Glitter Tutu
On the left is my niece, Katie. That's us at the concert. I was probably the only idiot there dressed like a raver. Pretty sure that set was for the emo kids. I should have just worn the damn thing to Ultra with all the other glittered listeners... but what can you do?
 
Here's how to make your own. It's super easy!
 
 
Materials:
Ribbon
Spools of Tulle in desired coordinating colors
A Sewing Machine
Matching Thread
Pins to hold Tulle in Place
A Lighter (to keep ribbon ends from fraying)
 
 
Instructions:
It's best to use a good wide ribbon so that the band shows around your entire waist. Wrap the ribbon around your waist where you want to wear the tutu, and tie a large bow, leaving a long tail on either side (It's cuter if there's a giant bow in the back because it wears like a French maid's apron). Cut the ribbon to the desired length.
 
Untie the ribbon from your waist and cut the ends into a smooth line or a cute tail (I chose the tail). Take the lighter and quickly run the flame back and forth along the cut edge. This should be enough to keep it from fraying. Be careful not to burn it! If you do, trim the blackened edge and try again.
 
 
Retie the ribbon around your waist and use pins to mark where you want the skirt to go on the ribbon. Take the ribbon off and lay it on a flat surface. Using the pins as a guideline, pin your bottom layer of tulle to the ribbon, making a pleat as you go.
 
Cut the tulle when you reach the final pin that you marked the ribbon with earlier. Sew the first layer to the Ribbon, removing the pins as you go (including the pins you used to mark the ribbon with originally)
 
Repeat the process with each layer of tulle right on top of the one before (I did 4 layers. Bottom: Green Glitter, Next: Pink Zebra, Third: Pink Glitter, Top: Green Zebra). More layers make fuller skirts!
 
 
Here's the finished skirt lain out on a terribly messy bed:


Its Innards:


Shameful! Absolutely Shameful! A grown-ass woman in a lime and pink tutu! What is the world coming to???


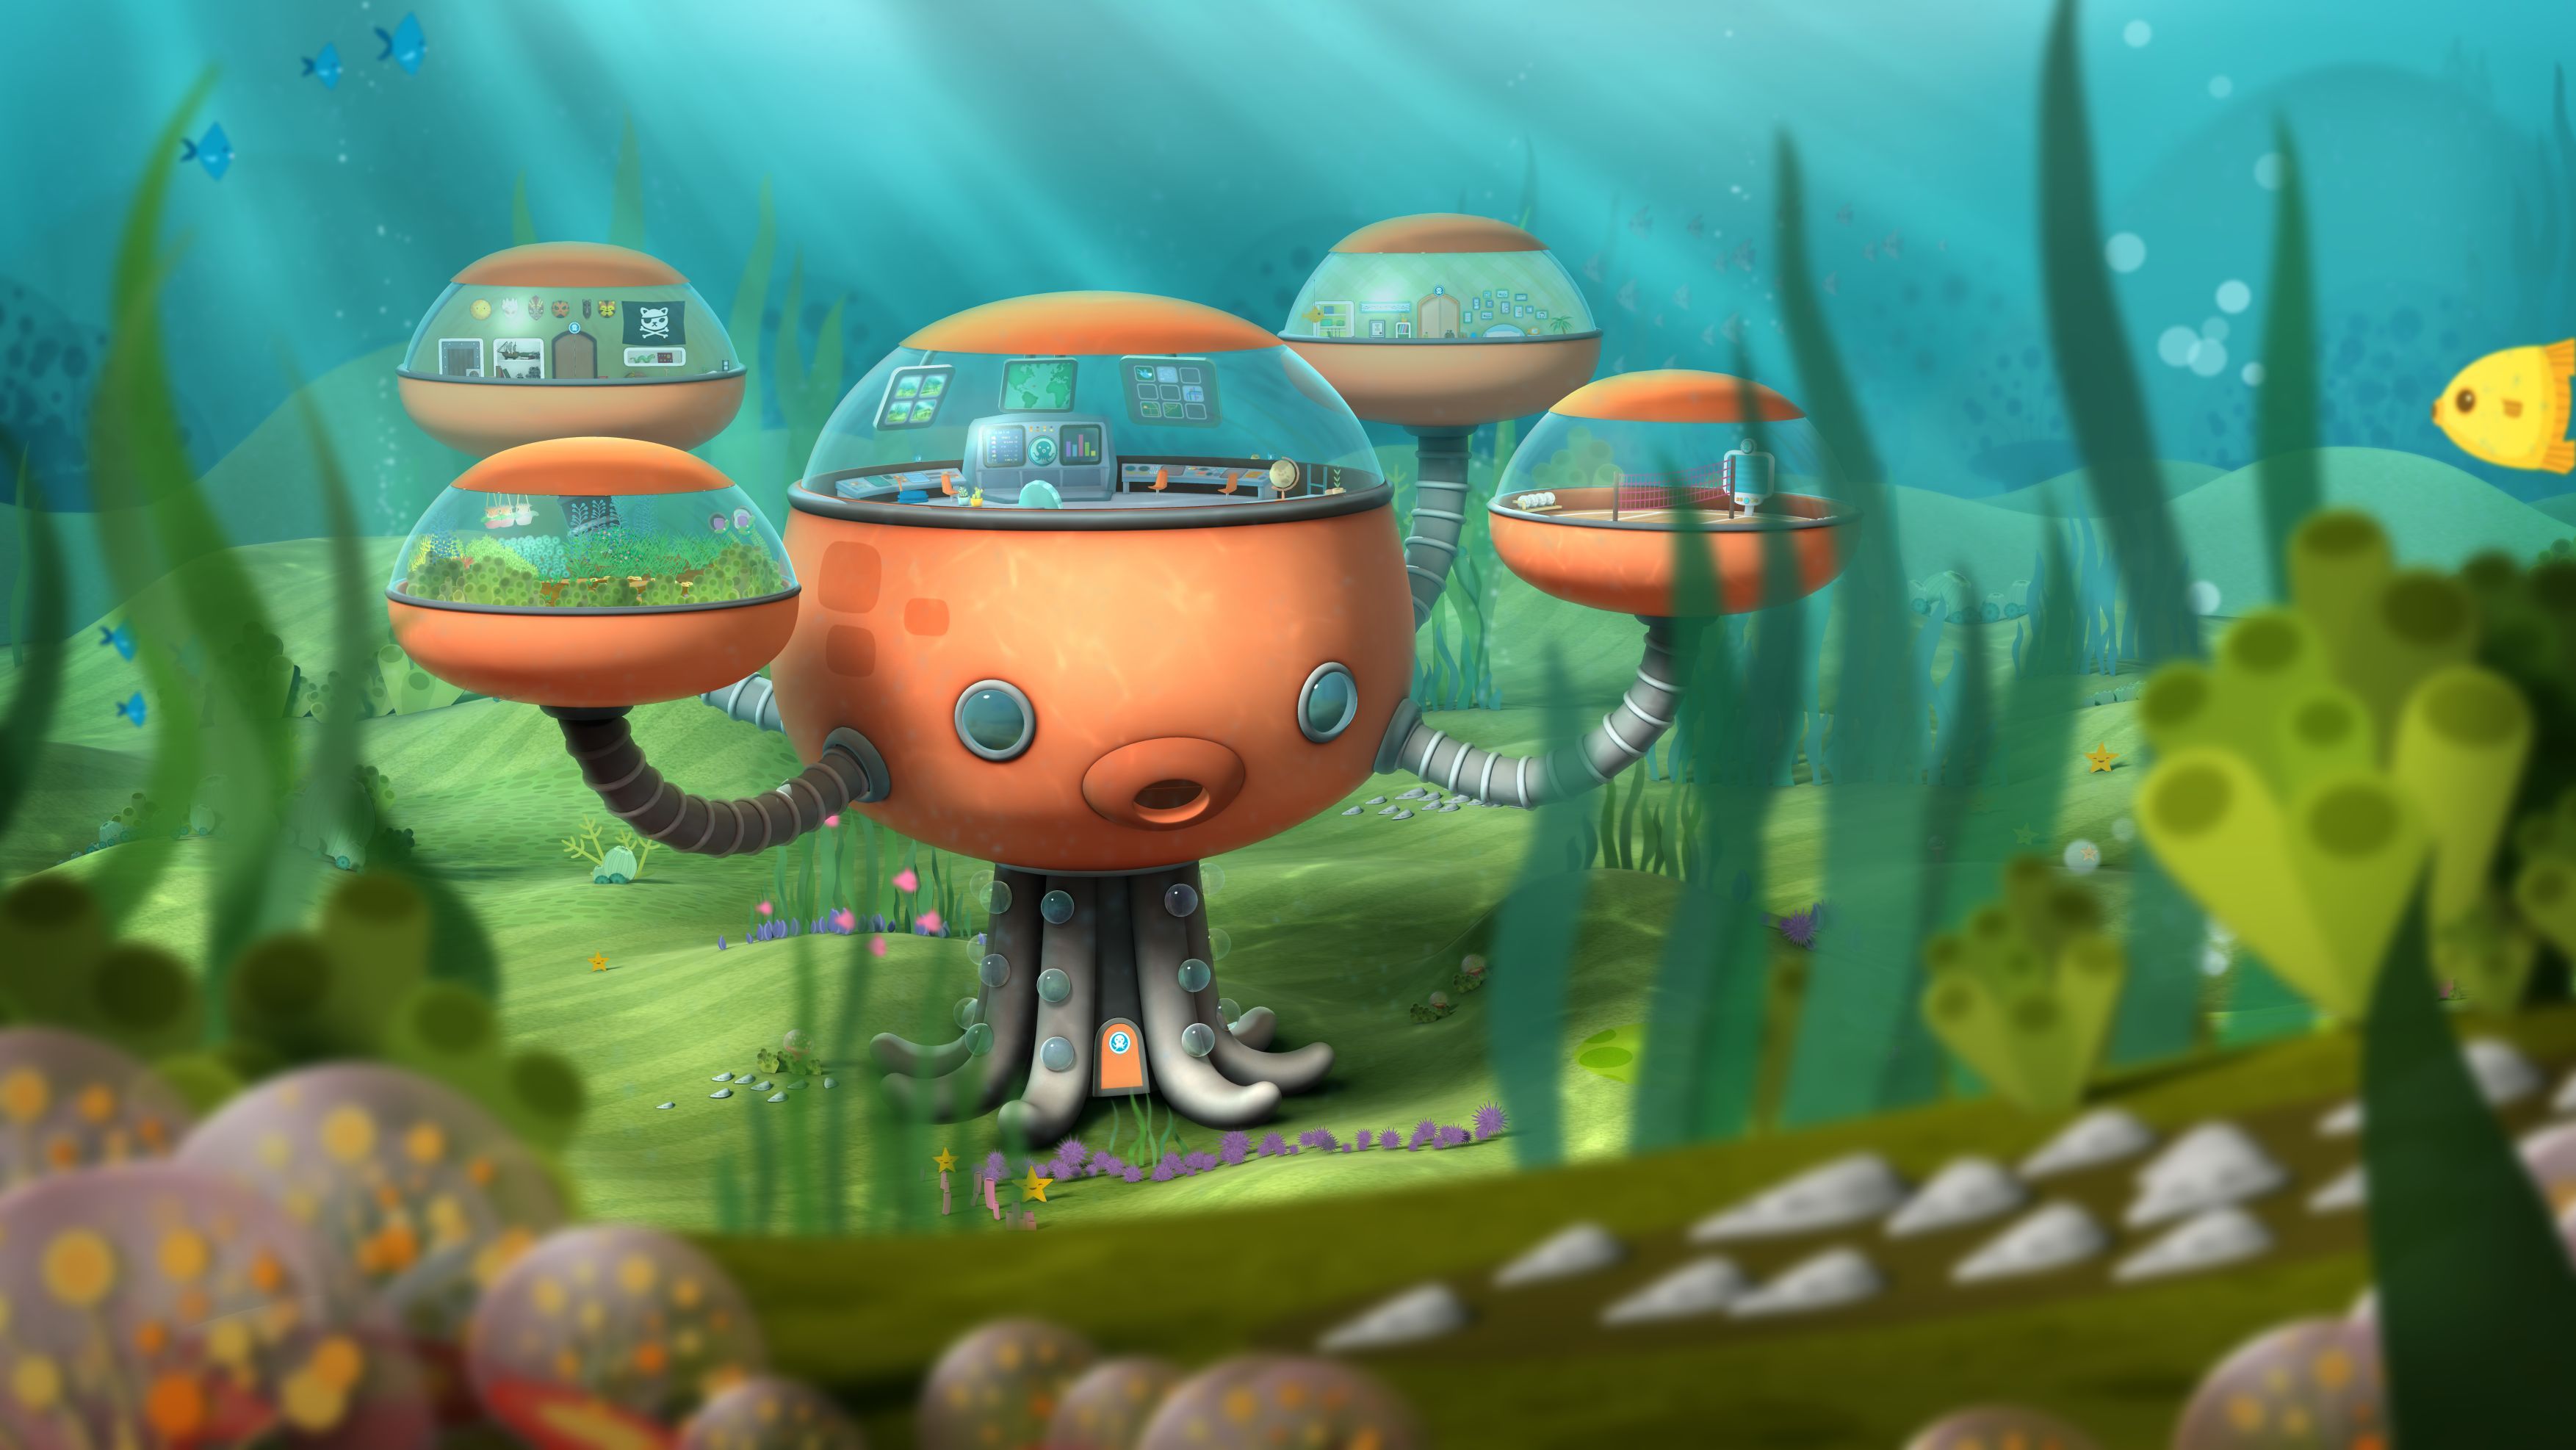
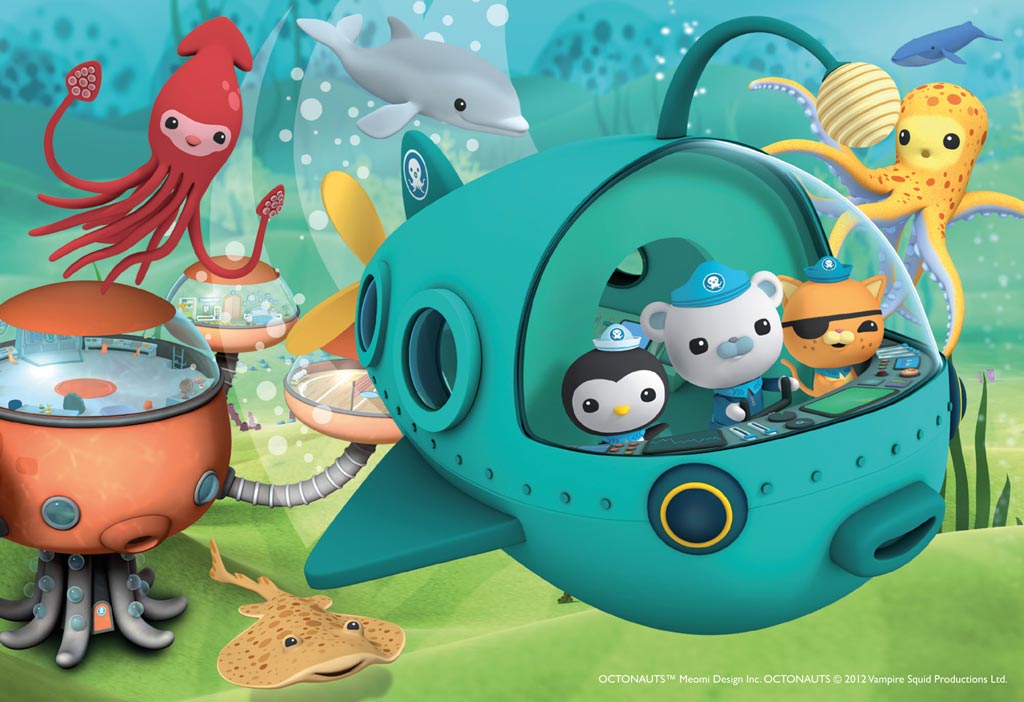
Octonauts, A Poem

Just for fun, I posted this on my short stories page, and I thought it might fit this page better.
 
 
 In our undersea lab, 
We breathe and live,
Life is not drab,
So much to give.


My friends and I,
Are furry pals,
Who really try,
To save animals.
 

A lobster’s son,
May need some help,
Leg number one,
Is wrapped in the kelp.
 
Some will come,
And go with the tide,
Others will stay,
Along for the ride.


A critter or two,
May give us the slip,
But Kwazii is who,
Is fast as a whip.
 
Peso is there,
To bandage and cure,
He knows where,
To apply pressure.
 
Southern and furry,
Tweak is a bunny,
She’ll fix in a hurry,
Because she’s no dummy.
 
Captain Barnacles,
Sounds the Octo-Alert,
Usually while,
The ship is inert.
 

Dashi’s cam lens,
Goes “Snap, Snap, Snap,”
At the sound of sirens,
“I’m on it, Cap!”
 
A pink octopus,
Professor Inkling,
Founded Octonauts, thus,
He’s like a sea king,
 
The Vegimals are,
A fun little posse,
Their words are bizarre,
Their temperments, saucy.
 
“Jumping Jellyfish!”
“Fascinating!”
Dr. Shellington,
Is pretty amazing.
 
 
Now that you know,
Them all by their name,
Maybe you’ll go,
And never be the same.
 
Animals need saving,
At sea and on land,
Let’s all do something,
Let’s give them a hand.
 
It would be easy,
To stop all the hurt,
Don’t be uneasy,
Just be alert!
 
Love all your pets,
And animals who aren’t,
Their unspoken thanks,
Is a wonderful present.
Image Credits:
 

Sunday, July 21, 2013

Owl Coin Purse

 
I found this pattern online at http://maggie-makes-stuff.blogspot.com/2011/07/owl-coin-purse-patern.html , and I've been wanting to give it a go for a while now. This little project didn't even cost me a trip to the store, since I already had all of the colors and fabric remnants at home. It took me most of the day to complete this little goodie from start to finish. The fabric background is what I used for a liner and I used a pink zipper to match. I hand stitched the liner and zipper to the owlet.